A Step-by-Step Songwriting Workflow Using Only Budget Gear
From empty project to finished-sounding song on a free DAW, a cheap mic, and stock plugins. No boutique preamps, no excuses — just a repeatable process that turns ideas into records.
The Premise: Cheap Gear Is Not the Problem
Rihanna’s “Umbrella” and A$AP Rocky’s “Praise the Lord” were built in GarageBand — a free DAW. That single fact should end the argument about whether budget gear can make professional music. It can. The thing standing between most people and a finished song isn’t the price of their equipment; it’s the absence of a workflow — a clear, repeatable order of operations that gets them from a blank project to a mixed track without stalling.
Most budget-recording problems don’t even come from the gear. They come from noisy input levels, sloppy gain staging, and bad mic placement — free things to fix. So this guide does two jobs: it names the actually-good free and cheap tools, and then it walks the complete workflow, step by step, that ties them together. Follow it start to finish and you’ll have a real song, not a folder of half-ideas.
The Budget Toolkit (What You’re Working With)
Before the workflow, here’s the kit — all free or near-free.
The DAW (free). You don’t need to spend a cent. On Mac, GarageBand is genuinely capable of finished releases, not just demos. On Windows, Cakewalk by BandLab is a complete professional DAW given away for free. Every major paid DAW (Ableton, Studio One, Cubase, Pro Tools) also offers a free or trial tier that records and mixes at a basic level. Pick one and commit.
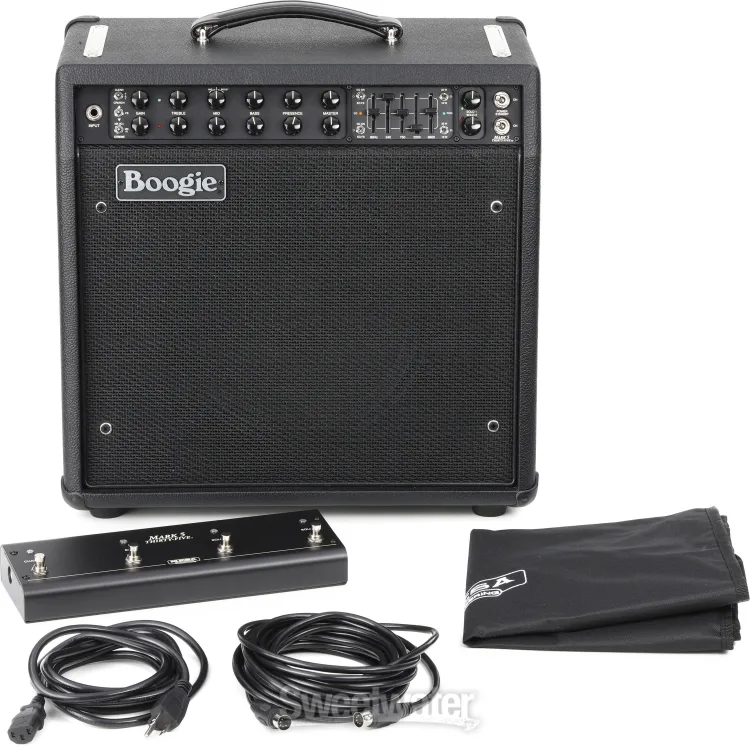
The interface + mic (cheap). A budget 2-in/2-out interface and a single inexpensive mic — a large-diaphragm condenser, or a dynamic if your room is noisy — is all the hardware you need. Many budget producers skip external amps entirely and record direct.
The instruments (free, in the box). This is where budget recording quietly became pro. Free virtual instruments cover pianos, pads, organs, and synths. Free amp-sim plugins let you plug an electric guitar straight into the interface and get a full amp tone — no cranked amp, no angry neighbors. Drum plugins and loops handle rhythm without a kit or a room to record it in.
The mixing tools (already installed). You do not need a plugin collection. The stock plugins in any DAW — an EQ, a compressor, a reverb, a delay — are enough for a solid, releasable mix. Mixing on a budget is about using a few tools with purpose, not owning many.
Now the workflow.
Step 1 — Capture the Idea Before You Lose It
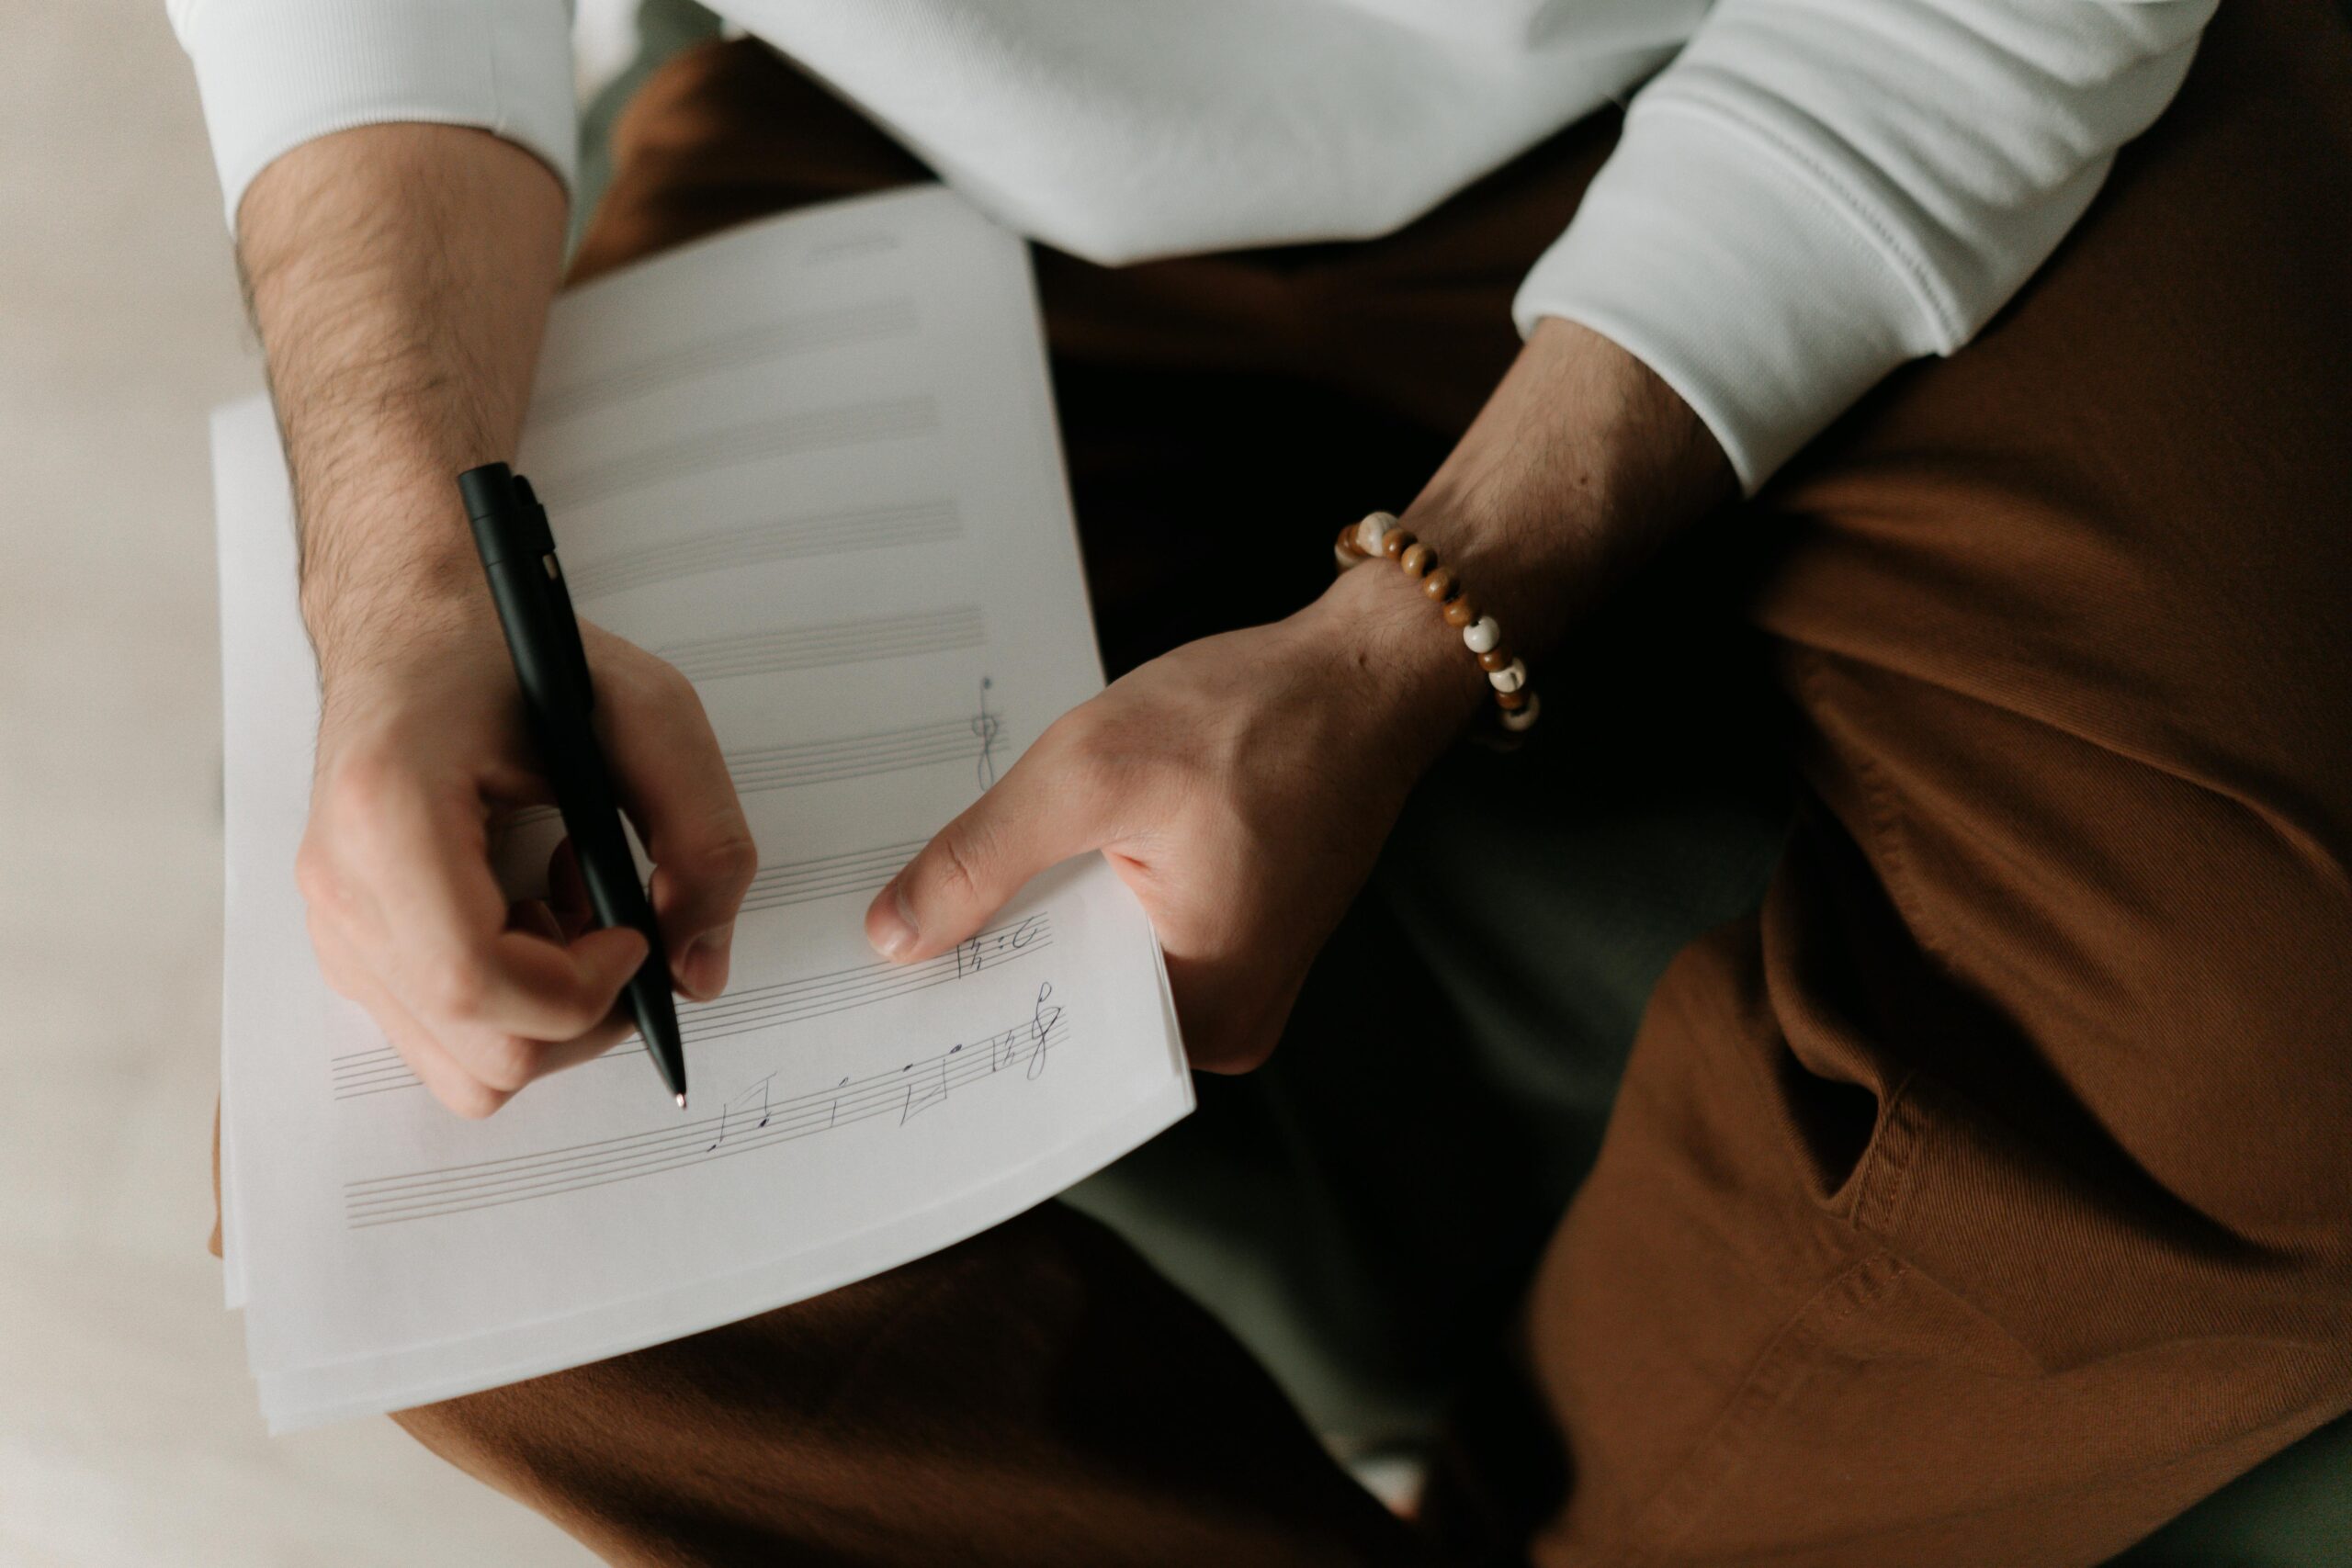
Every song starts as something fragile — a hummed melody, a chord loop, a lyric line. The first rule of the budget workflow is capture fast, judge later. Open your DAW (or even just your phone’s voice recorder) and get the raw idea down before it evaporates. Don’t set up mics, don’t pick sounds — sing or play the seed into whatever’s fastest. This voice-memo-quality capture is the seed of the whole session. The biggest killer of songs isn’t bad gear; it’s the idea that got away because you were busy configuring something.
Step 2 — Build the Skeleton With Free Instruments
Before you record anything “for real,” rough out the song’s structure using in-the-box sounds. Lay down a simple chord track with a free piano or synth. Add a basic drum loop or a programmed beat — focus on groove and consistency, not fancy fills. Sketch a bass line. The goal here is a skeleton arrangement: verse, chorus, bridge, in the right order, at the right tempo, so you can hear the song’s shape.
This step is where budget gear shines, because none of it requires recording a live instrument. You’re building a convincing backing track entirely from free plugins. Keep it simple and let the arrangement serve the song — a sparse, well-structured skeleton beats a cluttered one every time.
Step 3 — Get a Clean Signal at the Source
This is the step that actually determines whether your recording sounds cheap or pro, and it costs nothing. Most “bad gear” sound is really bad input. Before you record a single real take:
- Set your gain so the signal is healthy but never clips — peaks comfortably below the top, with headroom to spare.
- Place the mic well. Get it close to the source so the direct sound dominates the room. Record in the deadest spot you have (a closet or a corner with soft furnishings).
- Record a short test and listen back on headphones. Adjust gain and mic position, then test again. Repeat this little loop until the raw sound already feels close to what you want.
That test-and-adjust loop takes five minutes and saves hours of fighting problems later with EQ and plugins. A clean signal recorded well needs almost no fixing. A noisy, badly-placed one can’t be rescued by any amount of expensive processing.
Step 4 — Record the Real Parts
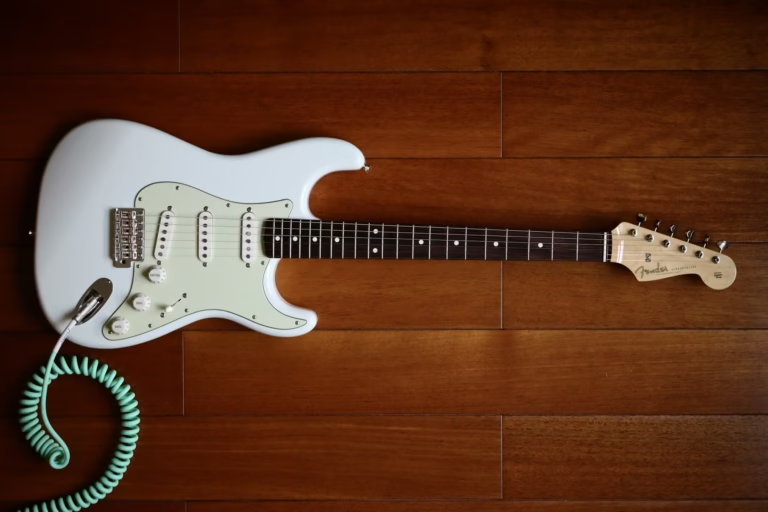
Now track your actual performances against the skeleton. Vocals through your one good mic. Electric guitar plugged direct into the interface, using a free amp sim (roll off the low end with EQ to remove mud). Acoustic instruments through the same mic you dialed in during Step 3.
The budget-workflow principle here is performance over perfection of gear. A committed, in-tune, in-time take on a cheap mic beats a lifeless take on a $2,000 one. Do a few passes, keep the best, and comp together the strongest moments if your DAW allows. Track one part at a time, listen back, and move on — don’t let yourself get stuck re-recording forever.
Step 5 — Mix With Three Tools (Level, EQ, Compression)
Mixing intimidates budget beginners because they think it requires gear they don’t have. It doesn’t. A solid mix comes from three core moves, all available as stock plugins:
Level (balance) first. Before touching anything else, set the volume of every track so they sit together and the important elements (usually vocal) are clearly audible. Most mixes are 80% fixed by good balance alone.
EQ to carve space. Use EQ subtractively — cut the frequencies that clash rather than boosting everything. Roll low end off instruments that don’t need it (guitars, vocals) so the bass and kick own the bottom. The goal is for each element to have its own frequency lane.
Compression to control dynamics. Gently even out the loud and quiet moments of vocals and other dynamic parts so they sit steadily in the mix. Subtle is the word — you want control, not obvious pumping.
Add a touch of reverb and delay for depth, and you have a real mix. Three tools, used with intention, on stock plugins. That’s the whole game at the budget level.
Step 6 — Reference, Rest, and Finalize
Before you call it done, do two free things that pros never skip. Reference your mix against a professionally released song in a similar style — play it at the same volume and listen for where yours is too dull, too bright, or unbalanced. Your ears lie; a reference track keeps them honest.
Then rest your ears. Come back the next day and listen fresh. Problems you were deaf to after three hours will jump out immediately. Make final tweaks, do a simple master (stock limiter to bring up the loudness without crushing it, or a free AI mastering pass), and export. The song is finished.
The Complete Workflow at a Glance
- Capture the idea instantly, before it’s lost.
- Build the skeleton with free instruments and loops.
- Get a clean signal — gain, mic placement, test loop.
- Record the real parts, direct where possible, performance first.
- Mix with three stock tools: level, EQ, compression.
- Reference, rest, finalize, and export.
Notice that only two of the six steps involve gear at all — and the gear they involve is cheap. The other four are process. That’s the whole point: the workflow, not the wallet, is what finishes songs.
The Bottom Line
You can write, record, and finish professional-sounding songs with a free DAW, a cheap mic, an inexpensive interface, and the plugins already in the box. Hit records have been made this way. The difference between a folder of abandoned ideas and a finished track is a repeatable process: capture fast, build a skeleton from free sounds, get a clean signal at the source, record real performances, mix with three tools, then reference and rest before you finalize. Stop waiting for better gear. Run the workflow and finish the song.